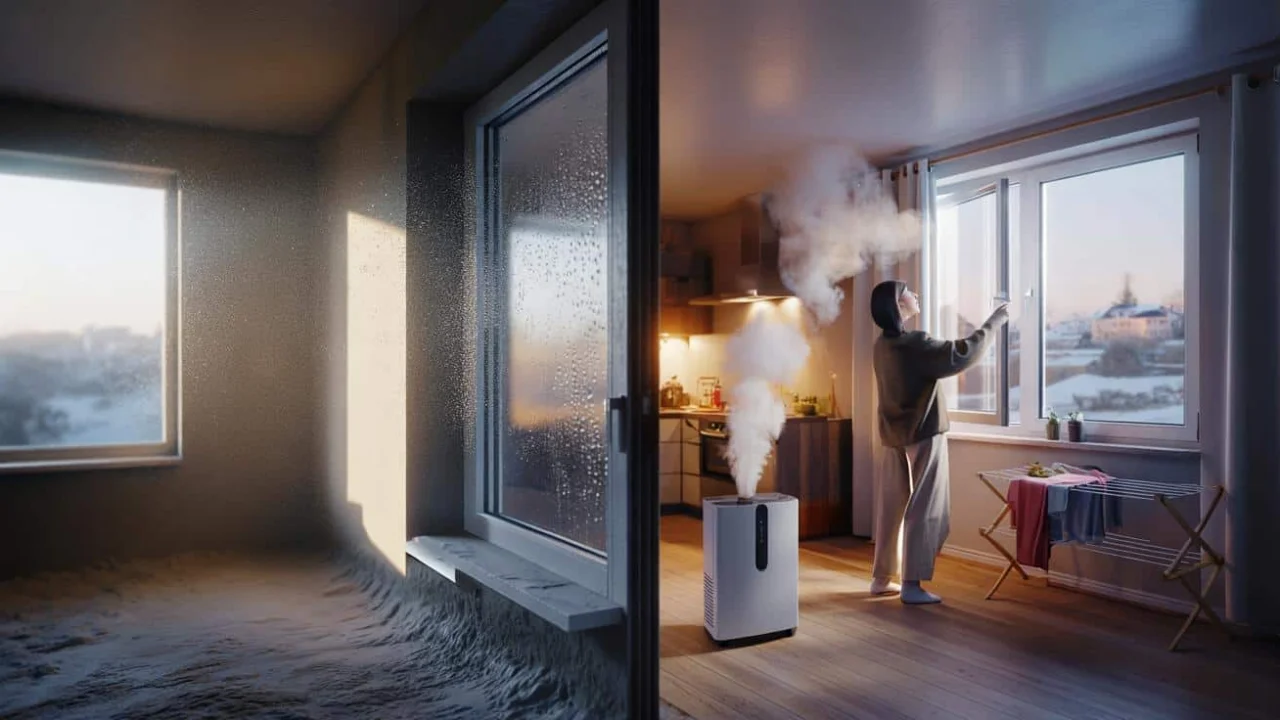
Last Tuesday, I stood in my kitchen at 7 PM, staring out at sidewalks covered in black ice. The wind was howling, my heating bill was climbing, and the thought of venturing out for dinner felt completely ridiculous. That’s when I remembered the half-wheel of raclette cheese sitting in my fridge—a leftover from a holiday party that never happened.
What started as a “what can I make with this?” moment turned into pure comfort food magic. Within fifteen minutes, I had created something that tasted like a cozy Alpine lodge condensed into a single, perfectly crispy sandwich.
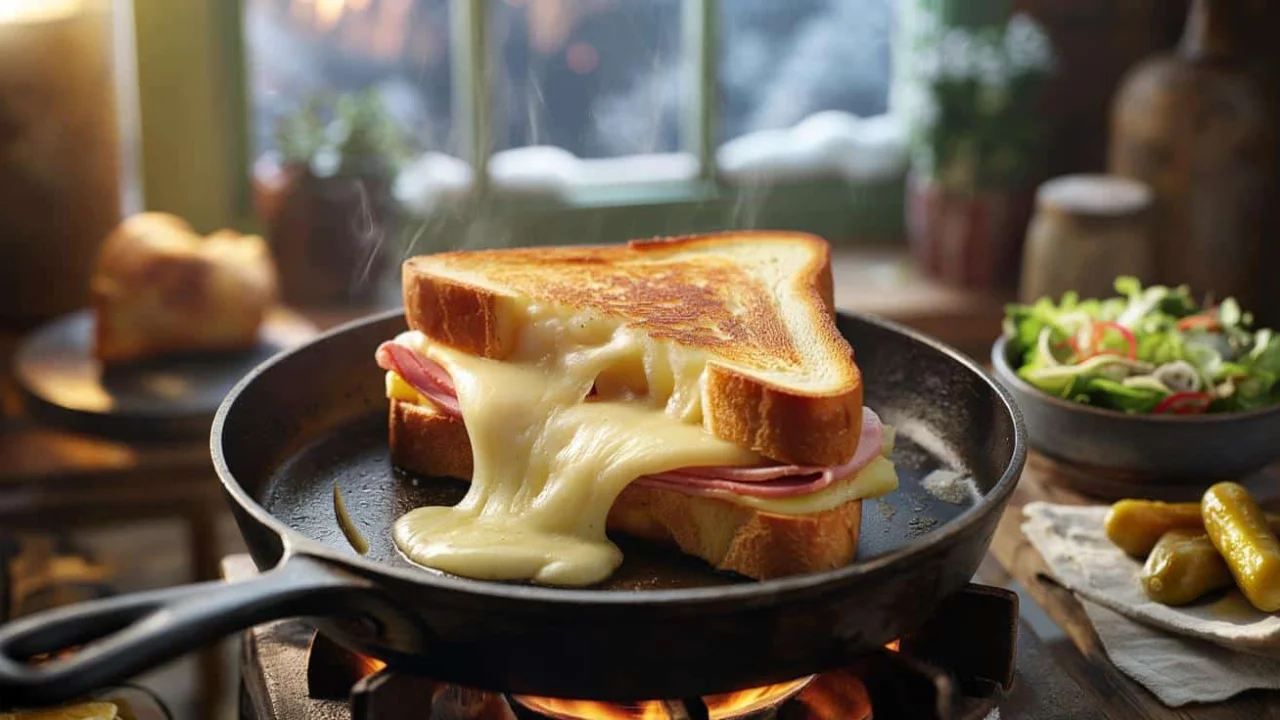
The skillet raclette toastie became my new cold-weather obsession. No fancy equipment, no complicated techniques—just four simple ingredients transformed into the kind of meal that makes you forget there’s a world beyond your warm kitchen.
Why This Skillet Raclette Toastie Works When Nothing Else Will
Traditional raclette is wonderful, but it’s also a production. You need the special melting machine, a table full of accompaniments, and usually a group of people to make it worthwhile. This version strips away everything except the essential pleasure: melted raclette cheese oozing between slices of golden, buttery bread.
“The beauty of raclette is its simplicity,” explains chef Marie Dubois, who grew up in the French Alps. “When you cook it in a skillet, you’re really just concentrating that comfort into something more manageable for everyday life.”
The technique borrows from both French croque-monsieur traditions and classic grilled cheese methods. You get the sophisticated flavor of Alpine cheese with the satisfying crunch that only comes from proper skillet cooking. The key is understanding that raclette melts differently than other cheeses—it stays creamy and stretchy rather than turning stringy or oily.
The Essential Four-Ingredient Formula
The magic of this skillet raclette toastie lies in its restraint. Each ingredient has a specific job, and nothing is wasted or unnecessary.
| Ingredient | Amount (serves 2) | Purpose |
|---|---|---|
| Thick-cut bread | 4 slices | Structure and crunch |
| Raclette cheese | 4-6 slices | Creamy, melting center |
| Quality ham | 2-3 slices | Savory depth |
| Grainy mustard | 1 tablespoon | Acid balance |
| Salted butter | 30g | Golden crust |
The bread needs to be substantial—think farmhouse style or a good sandwich loaf. Thin slices will collapse under the weight of melted cheese. The raclette should be sliced thick enough to create a proper gooey center, about 3-4mm per slice.
“People often underestimate how important the mustard is,” notes food writer James Patterson. “That little bit of acidity prevents the whole thing from becoming too rich and heavy.”
Step-by-Step: Building Your Perfect Toastie
The construction process matters as much as the ingredients. Start by laying your bread slices flat and spreading a thin layer of mustard on one side of each slice, right to the edges. This creates a flavor barrier that also helps prevent the bread from getting soggy.
Layer the raclette cheese generously on two slices, followed by the ham, then top with more cheese. The double cheese layer ensures you get that signature raclette stretch when you bite into it. Close with the remaining bread slices, mustard side down.
Heat your skillet over medium heat—not high, which would burn the outside before the cheese melts. Add butter and let it foam slightly before adding your assembled toasties. The key is patience: press gently with a spatula and let each side develop a deep golden crust before flipping.
What Makes This Different From Regular Grilled Cheese
The cooking technique sets this skillet raclette toastie apart from standard grilled cheese. Raclette has a lower melting point than cheddar or American cheese, which means it becomes perfectly creamy while the bread is still getting its golden crust.
The mustard and ham combination creates a flavor profile that’s decidedly European rather than American. Instead of the sharp, tangy notes of typical grilled cheese, you get something more nuanced and sophisticated.
“It’s like the difference between a casual weeknight dinner and a cozy evening at a mountain cabin,” explains cookbook author Sarah Chen. “Same comfort level, completely different experience.”
The cooking time is also shorter—about 6-8 minutes total compared to the longer process needed for harder cheeses to melt properly. This makes it perfect for those moments when you want something special but don’t have much time or energy.
When This Recipe Becomes Your Winter Lifeline
This skillet raclette toastie shines brightest during those long winter evenings when the outside world feels uninviting. It’s the kind of meal that works equally well as a quick dinner for one or a cozy meal for two people sharing a small kitchen.
The ingredients are shelf-stable enough that you can keep them on hand for spontaneous comfort food moments. Raclette cheese keeps well in the refrigerator, and the other components are kitchen staples that most people already have.
Parents have discovered it works as an upgraded version of kids’ grilled cheese, while adults appreciate having a sophisticated comfort food option that doesn’t require extensive prep or cleanup.
The fifteen-minute timeline makes it practical for busy weeknights, but the result feels special enough for lazy weekend lunches when you want something indulgent without the effort of a full cooking project.
FAQs
Can I substitute different cheese for the raclette?
Gruyère or Emmental work well, but they won’t have the same creamy texture that makes raclette special.
What if I can’t find pre-sliced raclette?
Buy it in a block and slice it yourself about 3-4mm thick—the key is having enough cheese to create that molten center.
Can I make this vegetarian?
Absolutely—just skip the ham or substitute roasted vegetables like caramelized onions or roasted red peppers.
What kind of mustard works best?
Grainy mustard provides the best texture contrast, but smooth Dijon works too—avoid anything too spicy that might overpower the cheese.
How do I prevent the bread from burning before the cheese melts?
Keep the heat at medium and be patient—raclette melts quickly, so you don’t need high heat to get the cheese properly gooey.
Can I prepare these ahead of time?
You can assemble them and keep them covered in the refrigerator for a few hours, but they’re best cooked immediately for optimal texture.
Related Posts